AWS (Amazon Web Service)
If you want to use all the scripts (
shop,admin,api) on the same server as this tutorial, then we recommend creating a blank ubuntu-based server with at least 2+ CPU cores and 2GB+ memory.
How to create ec2 server?
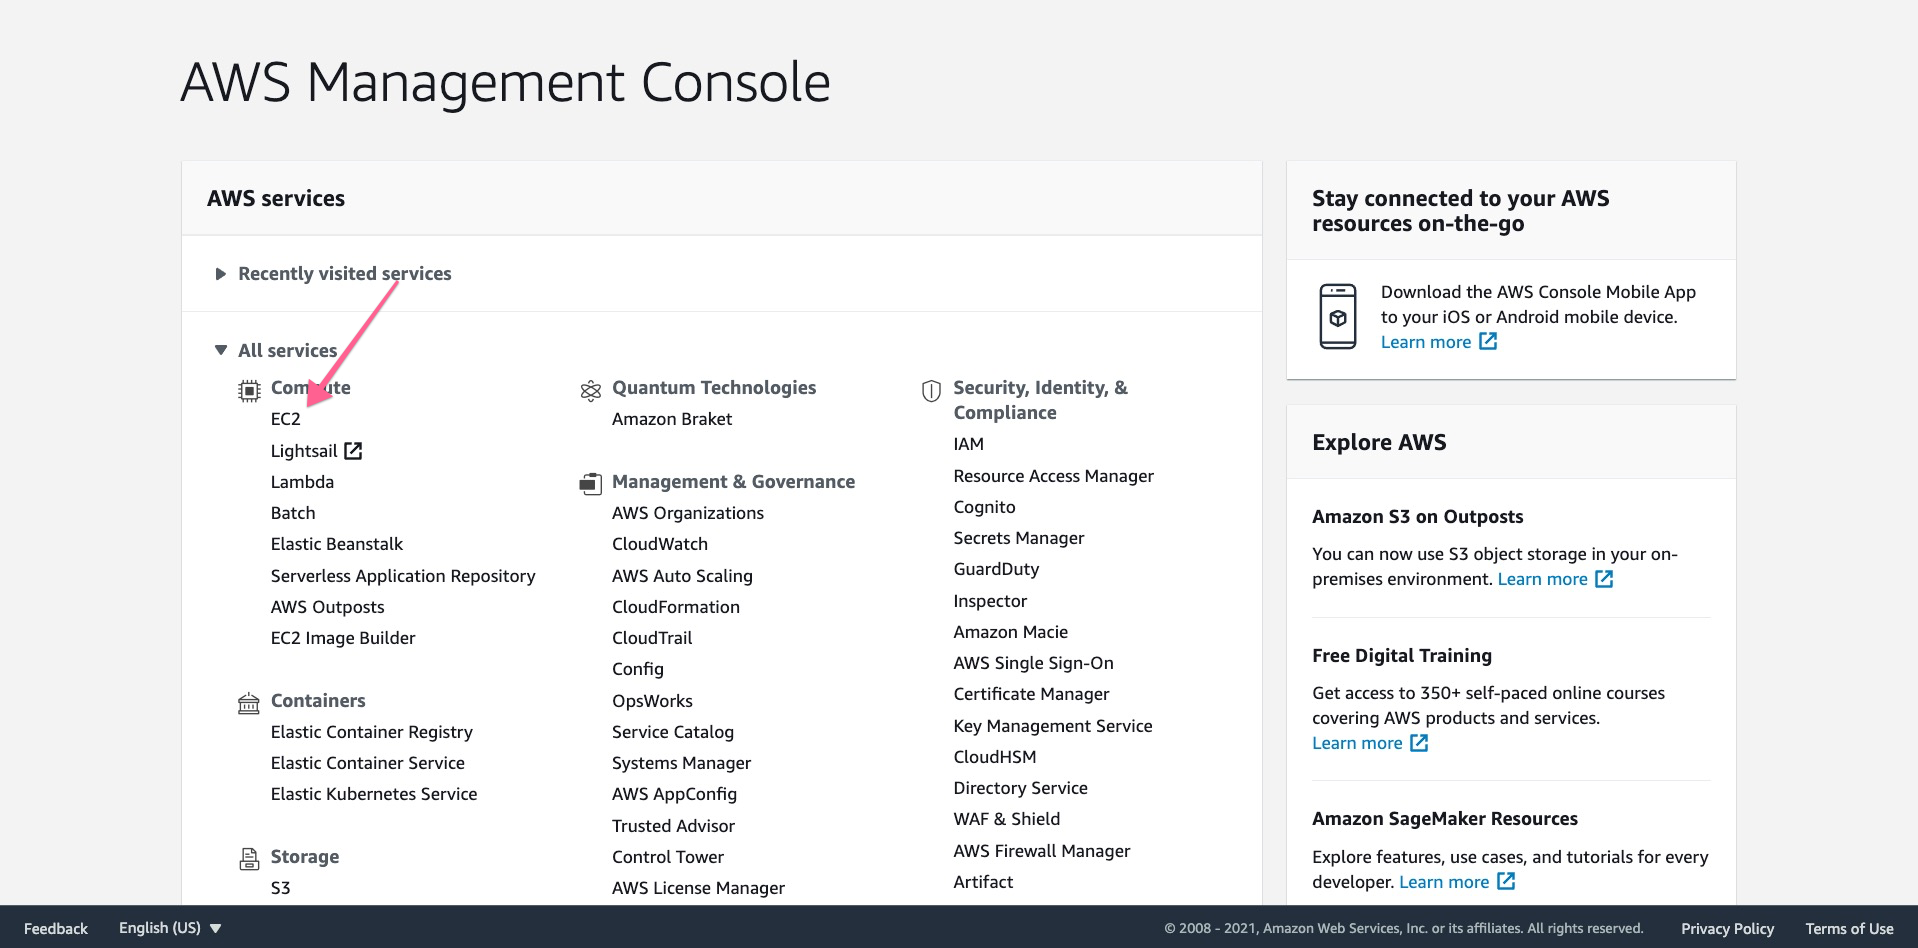
In this AWS tutorial, we're going to create an ec2 server. To do that at first, login to your AWS account and then click,
ec2 -> Instance -> Launch Instance
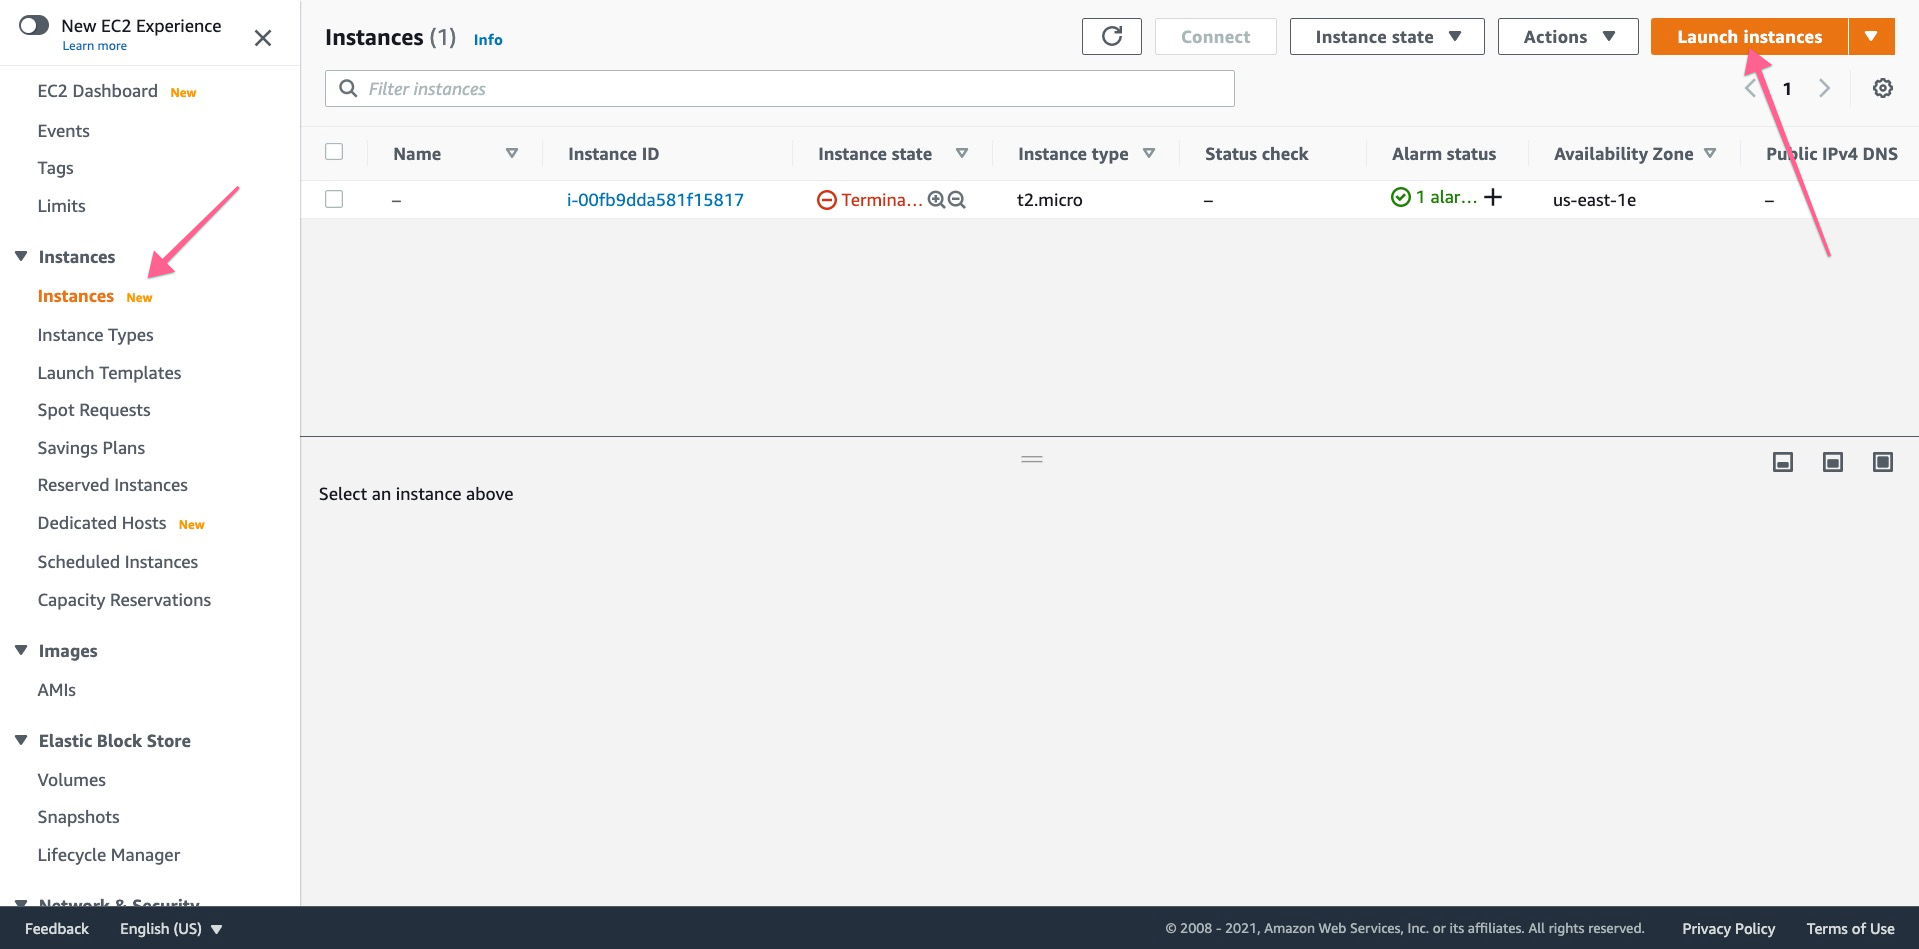
Then select a ubuntu 20.04 server
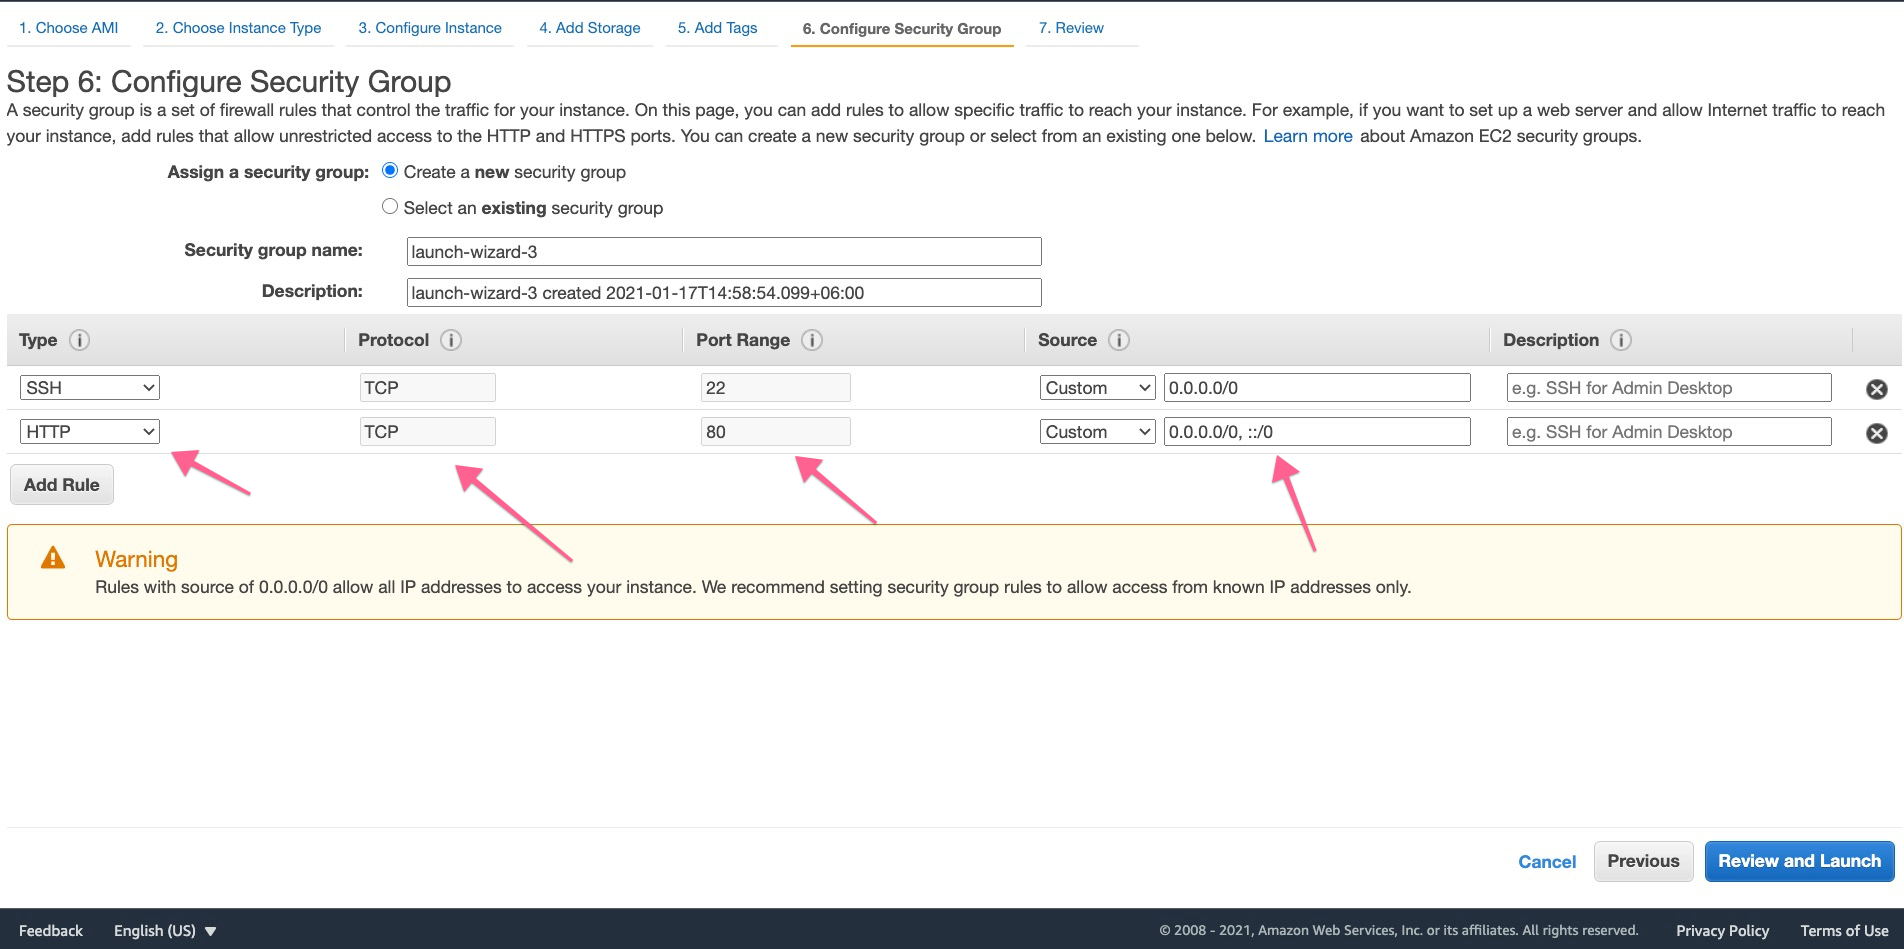
After that, click Next -> Next -> Next -> Next
And on security pages, add a rule for HTTP,
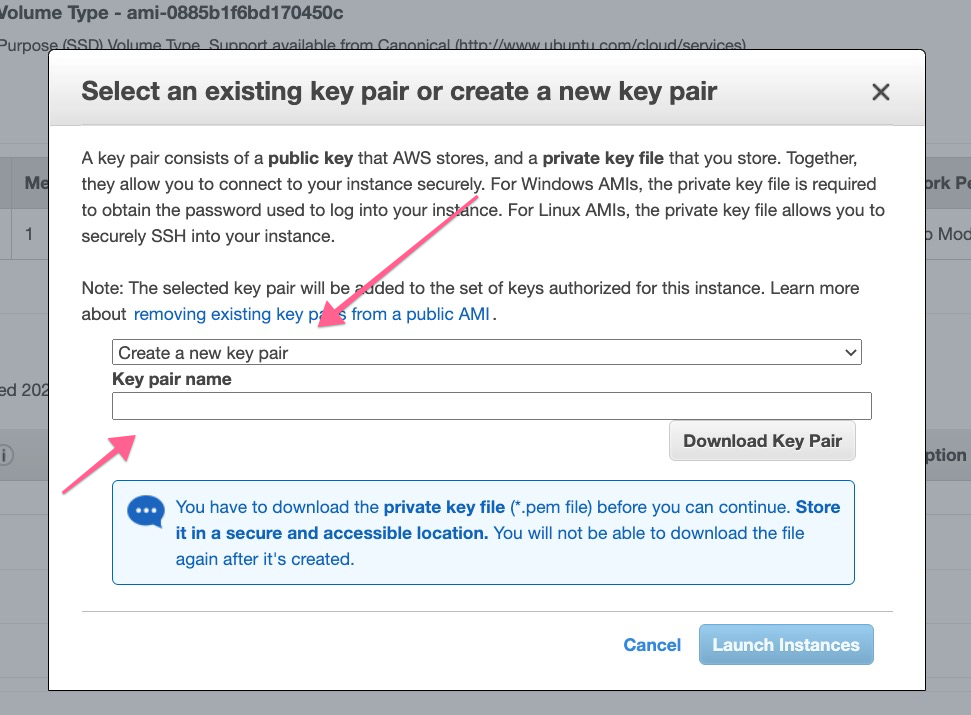
After review, click Launch, and you'll get and popup for KeyPair, which will be required to login to the server using ssh.
If you already have a previous KeyPair, you can use that; otherwise, you can create a new one. After completing that, make sure you download that KeyPair.
After launching the instance, you'll get the server IP, which will be required to login into ssh.
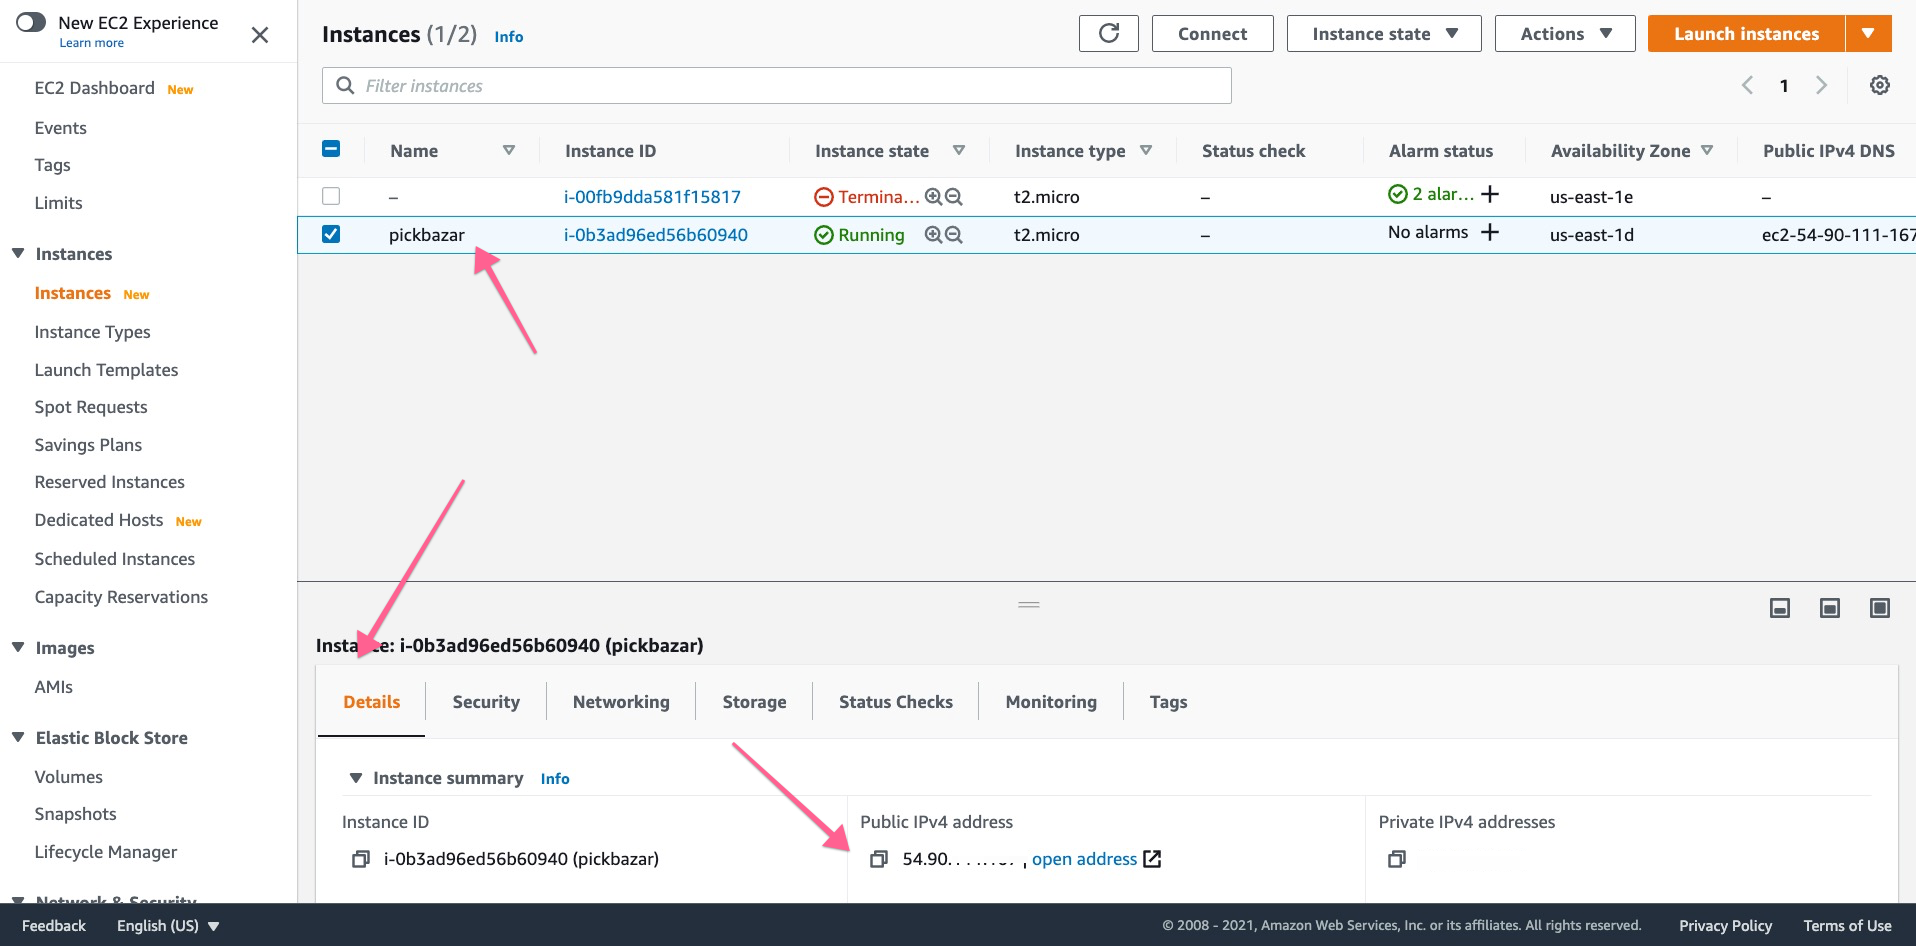
Domain Setup
Now copy the server IP and connect it with your domain name.
Please contact your domain provider for detailed explanation of how to do that.
Login to Server
At first, login to your AWS server using ssh. to do that, go to the folder from the terminal where KeyPair is downloaded.
then click Connect

From the Connect dashboard, go to SSH Client and copy the example line and paste it to your terminal.
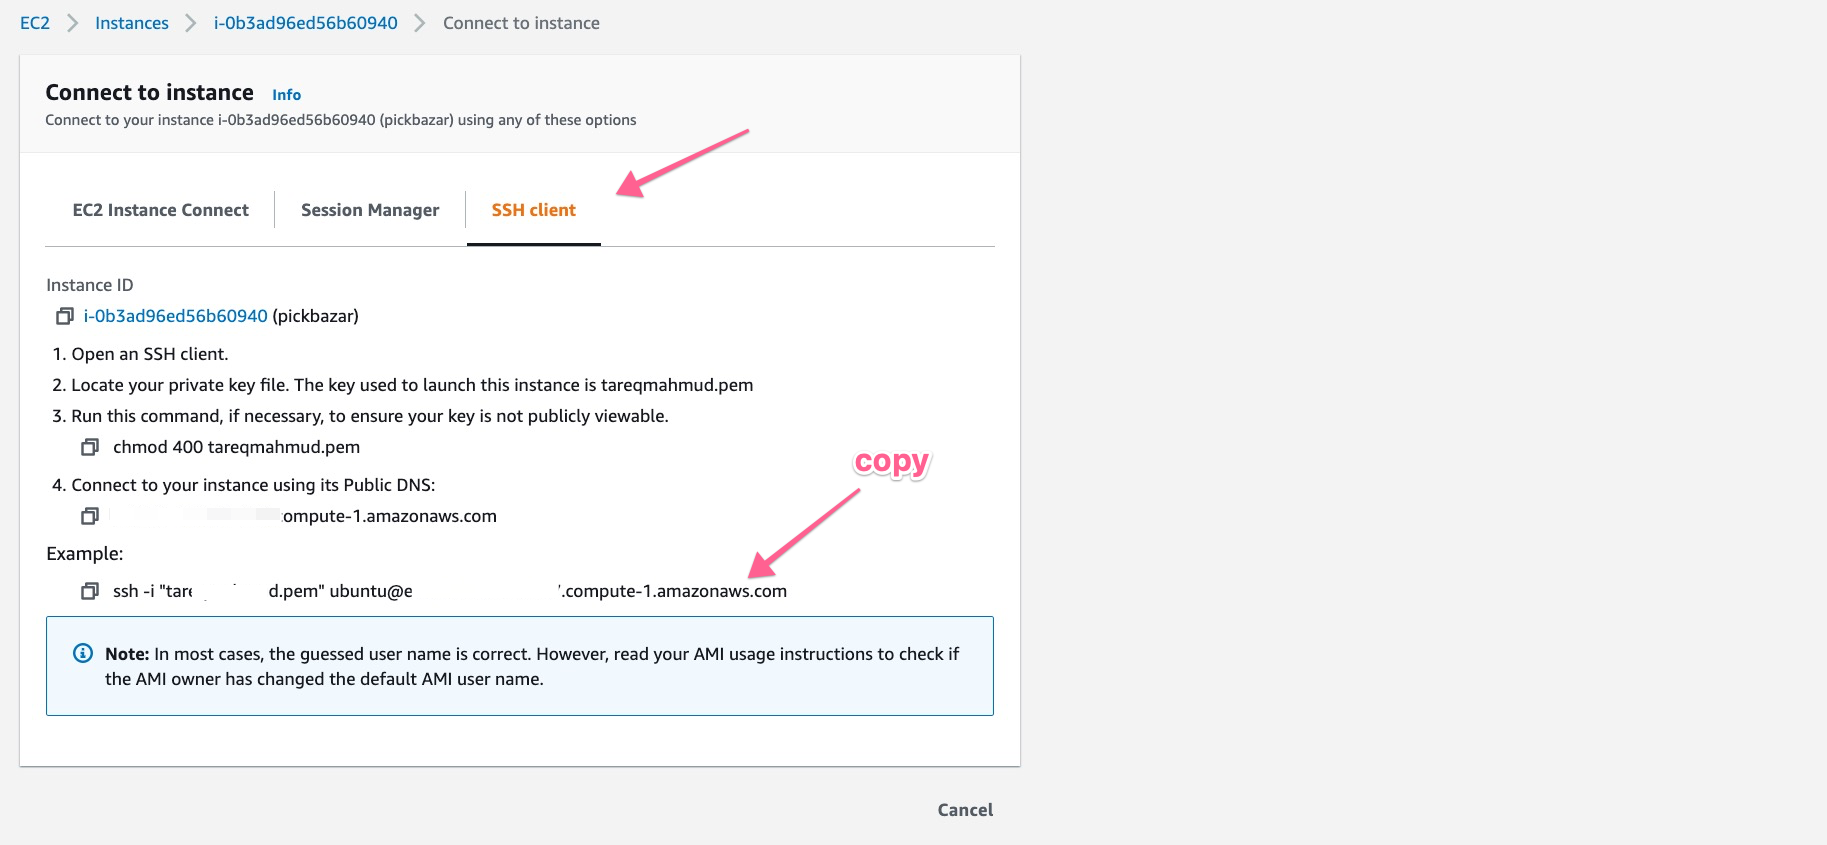
With this command, you will successfully connect to your server throw ssh.
Change permission .pem
You've to change the permission downloaded .pem file to 400 to access the server. To do that, at first go to the location where .pem store then run,
chmod 400 pixer.pem
Change the pixer.pem filename if you use a different name during generate the key.
Now go to the
VPS Serversection for deploy thePixer React