Virtual Private Server
If you want to deploy the app using automated script then follow this
With this tutorial, you can install Pixer to any type of blank or empty ubuntu server. For example, Digital Ocean Droplets, Amazon Lightsail, AWS, Google Cloud Virtual Private Server, Azure Ubuntu Virtual Private Server, etc.
If you want to use all the scripts (
shop,admin,api) on the same server as this tutorial, then we recommend creating a blank ubuntu-based server with at least 2+ CPU cores and 2GB+ memory.
Access Server
At first login your server using SSH and Terminal
Install NodeJS & Required Application
Install NodeJS
At first, we've to install NodeJS and npm to run the pixer app. To install NodeJS and npm, run this command on your terminal,
sudo apt-get update
curl -sL https://deb.nodesource.com/setup_16.x | sudo -E bash -
sudo apt-get install -y nodejs
Install Yarn
Pixer is highly dependent on yarn, it would be best to handle all the script parts using yarn. So to install yarn, use this command,
sudo npm i -g yarn
If you face any permission issue, then please check this official doc to resolve that,
Install Zip & Unzip
sudo apt install zip unzip
Install PM2
Now we will install PM2, which is a process manager for Node.js applications. PM2 provides an easy way to manage and daemonize applications (run them in the background as a service). To install PM2 use this command,
sudo npm install -g pm2
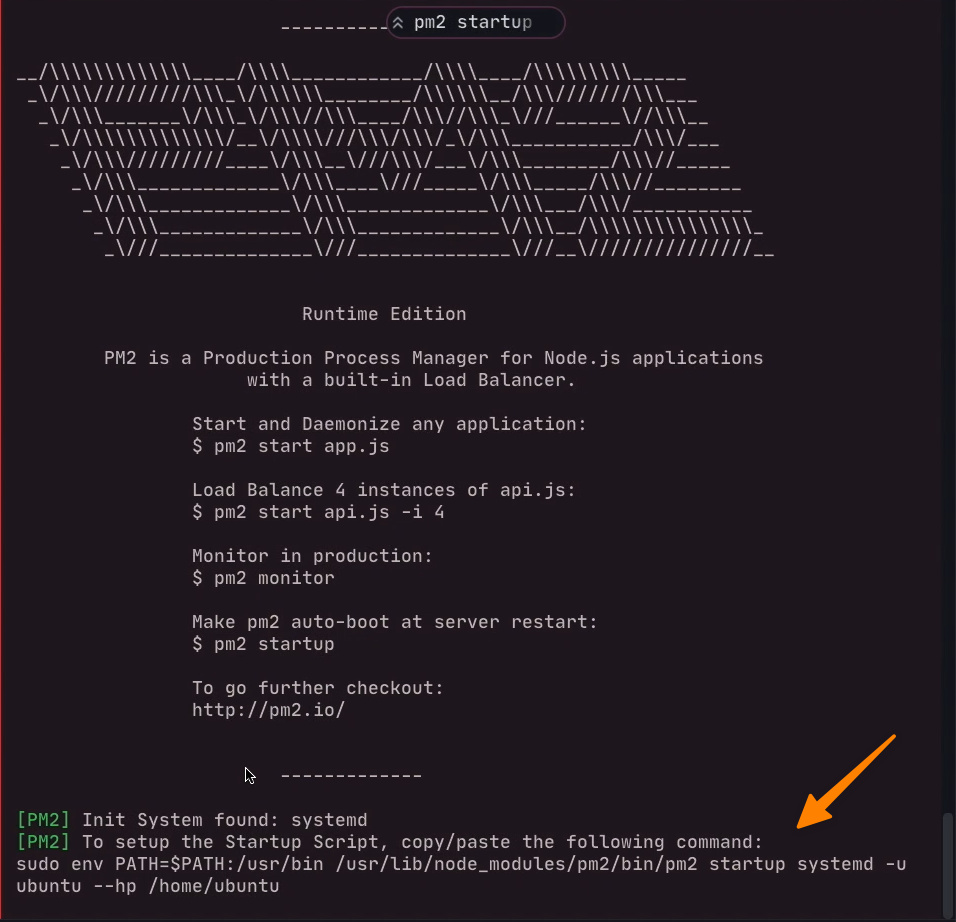
After restarting the server or if the server crash, then pm2 will halt the process. To prevent that, we'll add pm2 as a startup process to run automatically after restart the server.
pm2 startup systemd
After running this command, it'll provide you a command. Just copy -> paste -> enter to execute that command.
Setup Server
Introduction
Nginx is one of the most popular web servers in the world. In this deployment tutorial, we're going to use Nginx to host our website. In this tutorial, we're going to use ubuntu 20.04 to host pixer
Step 1 - Installing Nginx
After creating the server, make sure the apt library is up to date. To update the apt library, use this command,
sudo apt update
After the update apt, we're going to install Nginx. To do that, use this command
sudo apt install nginx
Step 2: Adjusting the Firewall
Before testing Nginx, the firewall software needs to be adjusted to allow access to the service. Nginx registers itself as a service with ufw upon installation, making it straightforward to allow Nginx access.
To check the ufw list, use this command,
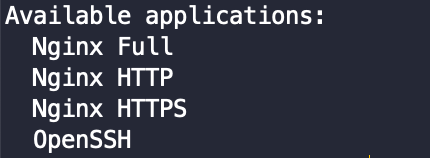
sudo ufw app list
You will get a listing of an application list like this,
At first, add ssh to the firewall,
sudo ufw allow sshsudo ufw allow OpenSSH
After that, to enable Nginx on the firewall, use this command,
sudo ufw allow 'Nginx HTTP'
Now enable the firewall,
sudo ufw enable
sudo ufw default deny
You can verify the change by typing:
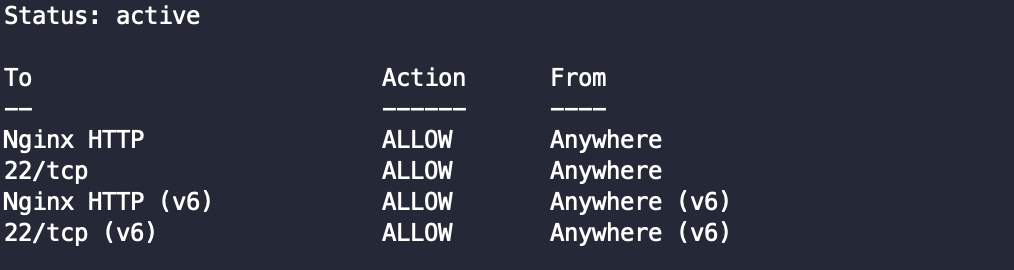
sudo ufw status
The output will be indicated which HTTP traffic is allowed:
Step 3 – Checking your Web Server
Now check the status of the Nginx web server by using this command,
systemctl status nginx
You'll get an output like this,

Step 4 - Change permission for the www folder
sudo chown -R $USER:$USER /var/www/
use this command to create a directory on /var/www/ on your server
mkdir /var/www/pixer-react
Step 9: Setting Up Server & Project
In this chapter, we'll set up our server and also will set up Reverse Proxy to host all of our sites from the same server.
At first, we'll disable the default configuration.
sudo rm /etc/nginx/sites-enabled/default
Step 10 - Create New Nginx for the domain
sudo touch /etc/nginx/sites-available/pixer
sudo nano /etc/nginx/sites-available/pixer
Add this Nginx config file to that edited file,
server {listen 80;server_name YOUR_DOMAIN.com;add_header X-Frame-Options "SAMEORIGIN";add_header X-XSS-Protection "1; mode=block";add_header X-Content-Type-Options "nosniff";index index.html index.htm index.php;charset utf-8;# For APIlocation /api {proxy_pass http://localhost:5000/api;proxy_http_version 1.1;proxy_set_header Upgrade $http_upgrade;proxy_set_header Connection 'upgrade';proxy_set_header Host $host;proxy_cache_bypass $http_upgrade;}# For FrontEndlocation /{proxy_pass http://localhost:3000;proxy_http_version 1.1;proxy_set_header Upgrade $http_upgrade;proxy_set_header Connection 'upgrade';proxy_set_header Host $host;proxy_cache_bypass $http_upgrade;}location /admin{proxy_pass http://localhost:3002/admin;proxy_http_version 1.1;proxy_set_header Upgrade $http_upgrade;proxy_set_header Connection 'upgrade';proxy_set_header Host $host;proxy_cache_bypass $http_upgrade;}location ~ /\.(?!well-known).* {deny all;}}
Make sure you change
YOUR_DOMAIN.comto your specificdomain name
Save and close the file by typing CTRL and X, then Y and ENTER when you are finished.
Then enable the config
sudo ln -s /etc/nginx/sites-available/pixer /etc/nginx/sites-enabled/
Make sure you didn’t introduce any syntax errors by typing:
sudo nginx -t
Next, restart Nginx:
sudo systemctl restart nginx
Secure Server
Step 1: Secure Nginx with Let's Encrypt
sudo apt install certbot python3-certbot-nginx
sudo ufw statussudo ufw allow 'Nginx Full'sudo ufw delete allow 'Nginx HTTP'sudo ufw status
sudo certbot --nginx -d YOUR_DOMAIN
After this command, you'll get several command prompt. Make sure you take the necessary steps and provide information on that command prompt.
Install API
Step 8 - Build API
Because of the small server, our procedure is to build scripts on a local pc and run it on the server. If your server is at least 4+ CPU core and 8GB+ memory, you don't have to build it on your pc. Just upload the scripts to your server and build them directly on the server.
To build the scripts, Download the scripts from themeforest and then,
1. Extract the zip package that you download from `ThemeForest`2. Then extract `pixer-react` zip folder2. Move `pixer-react` folder to generic folder like desktop, document, etc.
Then go to,
pixer-react -> pixer-api
and use this command
yarn
yarn build
Step 8 - Upload API to Server
Now zip pixer-api folder and upload it to server /var/www/pixer-react/
Then open your terminal and go /var/www/pixer-react/ and unzip that uploaded pixer-api zip
Then go to /var/www/pixer-react/pixer-api and run this command,
yarn
Then run this command,
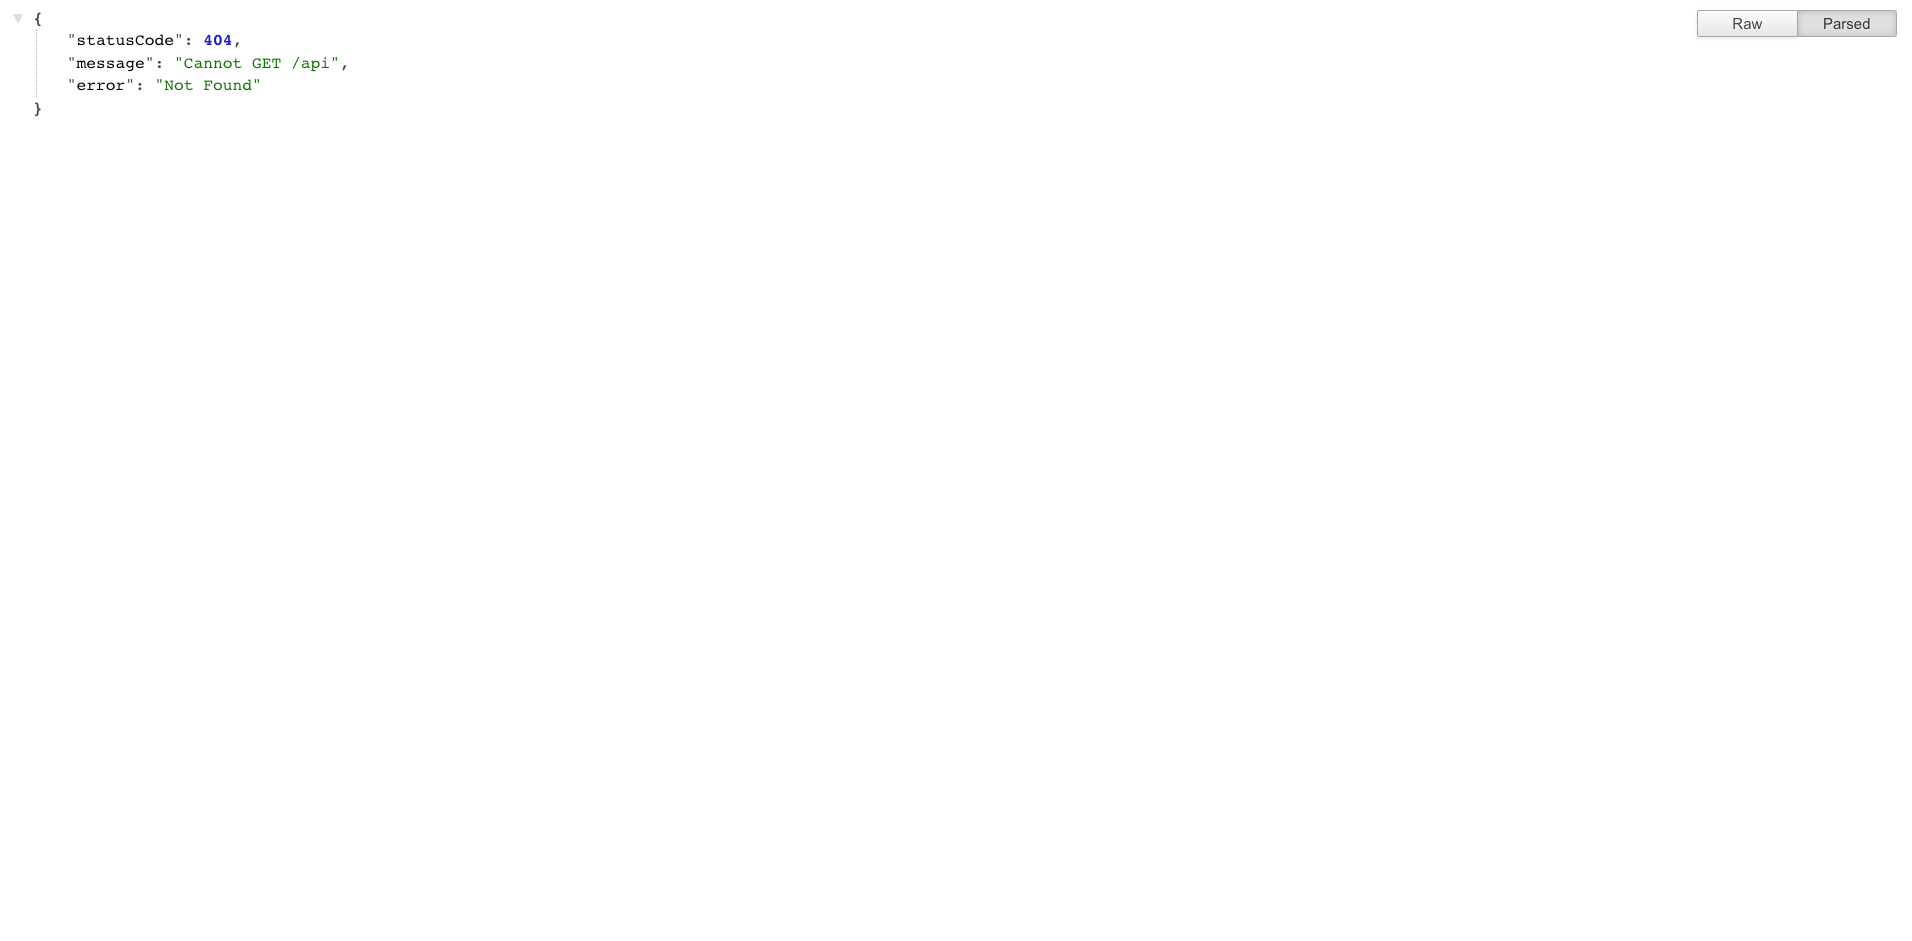
pm2 start --name=mock-rest yarn -- start:prod
Now, when you go to the YOUR_DOMAIN/api you'll get a page like this
FrontEnd Project Build
Typescript requires a huge chunk of memory to build the project, so if your server has at least 8gb+ of memory, then you can build the project on your server directly. If not, then build the project on your server, then move the folder to the server then serve the project. We'll do the second method in this tutorial.
We'll suggest you build the frontend part on your computer and then upload the build file to the server.
Go to your pixer-react folder from your local computer.
Step 1 - Install & Build
Shop
go to your pixer-react -> shop folder,
To install all the npm packages run this command,
yarn
Then copy .env.template to .env
Then add API url to NEXT_PUBLIC_REST_API_ENDPOINT,
NEXT_PUBLIC_REST_API_ENDPOINT="https://YOUR_DOMAIN/api"
Also add all the other env credentials
Then Open shop -> next.config.js and add your domain to images object
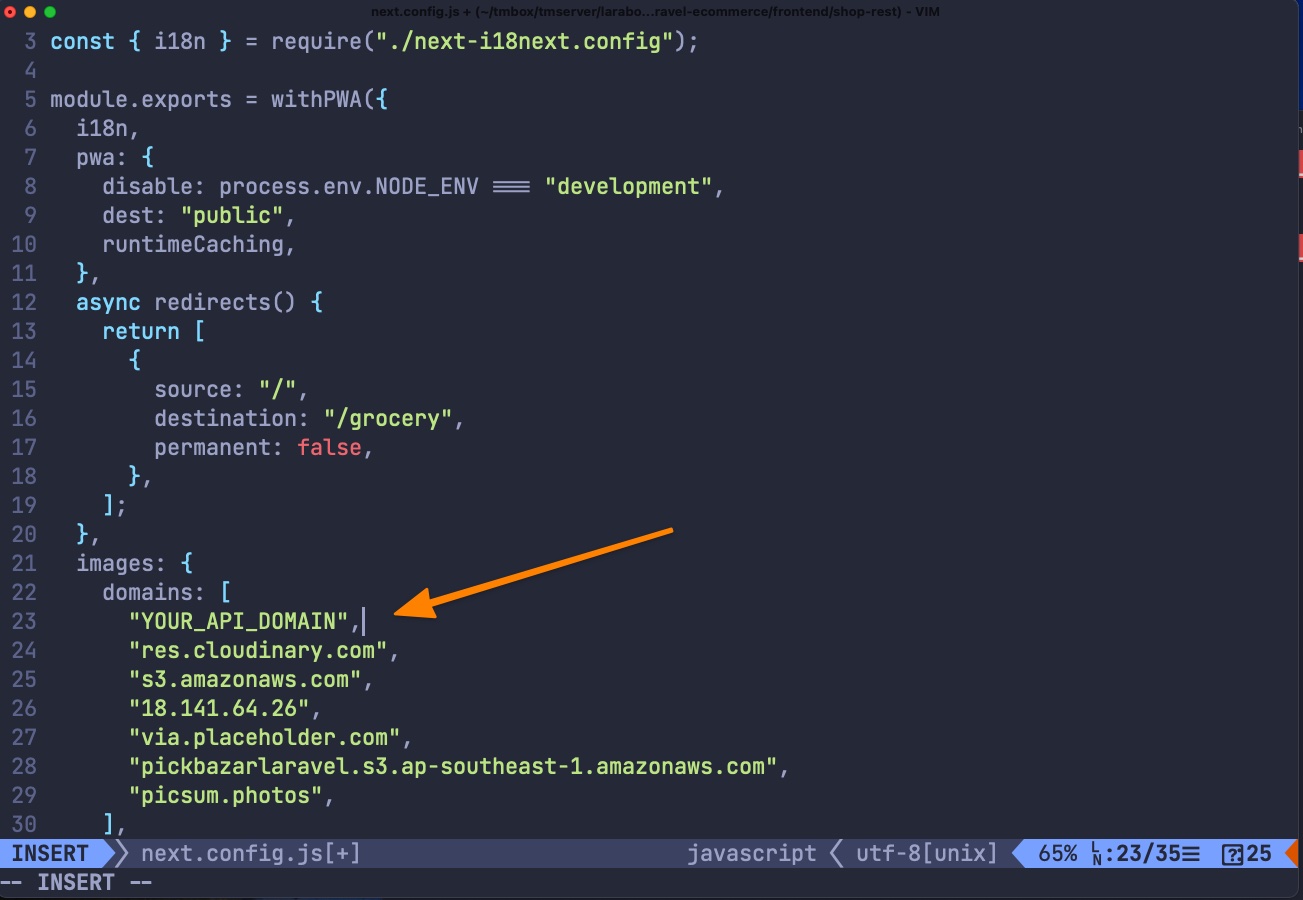
If your API is hosted on a subdomain, then add that subdomain with root domain on
next.config.js
Then use this command to build the shop
yarn build
Admin
go to your pixer-react -> admin folder,
To install all the npm packages run this command,
yarn
Then copy .env.template to .env
Then add API url to NEXT_PUBLIC_REST_API_ENDPOINT,
NEXT_PUBLIC_REST_API_ENDPOINT="https://YOUR_DOMAIN/api"
Also add all the other env credentials
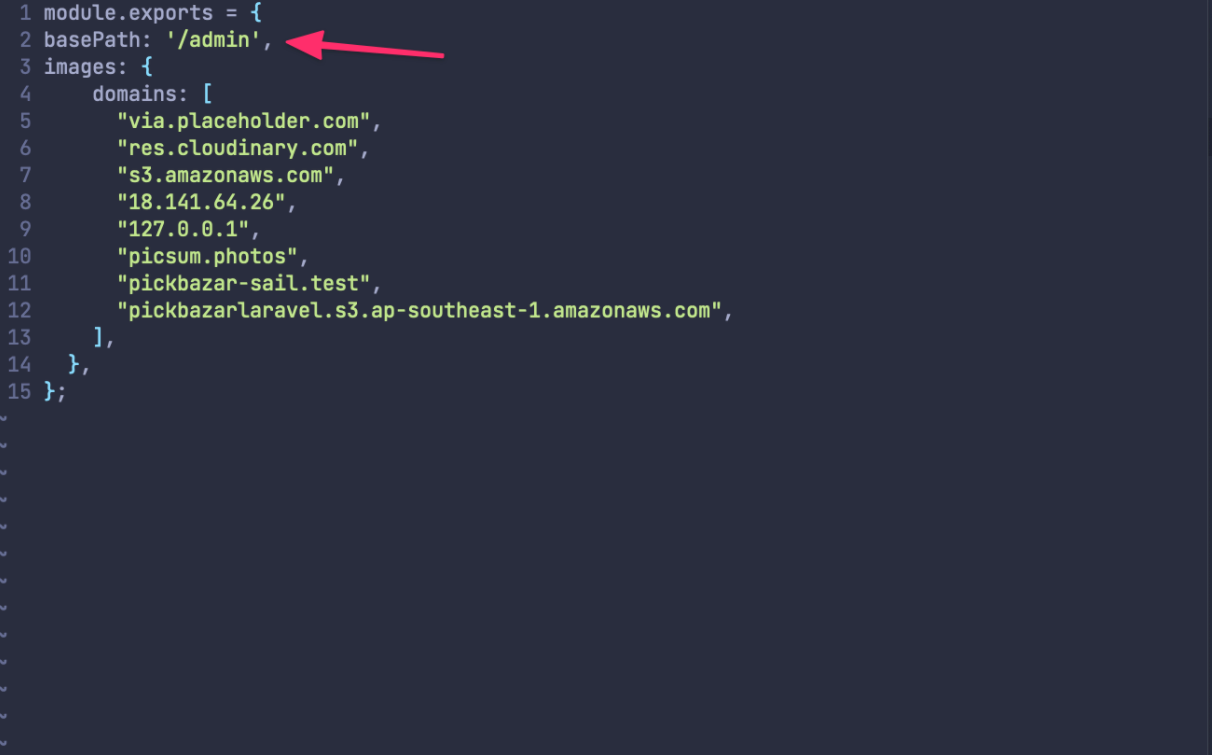
Then Open admin -> next.config.js and add your domain to images object
If your API is hosted on a subdomain, then add that subdomain with root domain on
next.config.js
Ans, add basePath for '/admin'
Then use this command to build the shop
yarn build
Step 2: Upload to Server
Now zip admin, shop files and upload them to the server /var/www/pixer-react
Now go to the server /var/www/pixer-react using terminal
Then unzip that zip file.
Install FrontEnd And Run
Run frontend app
Run this command from your server /var/www/pixer-react/shop Directory
yarn
pm2 --name shop-rest start yarn -- run start
For admin app, go to /var/www/pixer-react/admin folder and run this command,
yarn
Then to run the admin app, use this command,
pm2 --name admin-rest start yarn -- run start
Now go to Now, go to your YOUR_DOMAIN to access the shop page and YOUR_DOMAIN/admin for the access admin section.